Lesson 8: Deploy Chatbot as API with Flask
Now that we have our Python application ready and working, we need to transform this into a deployable API and deploy it. For this, we will use Flask, which requires a few steps to set up:
Setting up Flask Project
Let's create a runtime.txt file, which will act as our Python version specifier on our server. This file should contain the following line:
runtime.txt
python-3.11.7Next, we need to create a requirements.txt file. This file will contain all the required Python packages for deploying our project. We will add the following packages to the file:
requirements.txt
python-dotenvflaskmysql-connector-pythonopenaiwaitressflask-corsNext, we will create a Procfile file. This file will contain the command to run our application on the server. The file should include the following line:
Procfile
web: cd src && python app.pyThen, we can move to environment variables. We want to create a .env.example file containing our project's required environment variables. This file should include the following lines:
.env.example
DEBUG=False DB_HOST=localhostDB_USER=rootDB_PASSWORD=DB_DATABASE= OPENAI_API_KEY=Then we need to ignore some files, like .env. For this, we will create a .gitignore file, which will contain the following lines:
.gitignore
.env/storageThat's it! We can now start building the Flask application.
Creating Flask Application
Now that we have the required files created, we can work on the actual Flask application.
We will start by creating a new folder called src, and we will move the following files into it:
-
app.py -
ai_engine.py -
chatbot.py -
chat_history.py
This is needed because we will use the src folder as the root of our Flask application.
Next, we want to modify our app.py file to be a Flask application. We will start by adding the following code to the file:
Note: Replace the app.py file content with the following code at this step.
src/app.py
import osfrom flask_cors import CORSfrom waitress import servefrom dotenv import load_dotenvfrom flask import Flask app = Flask(__name__)CORS(app, resources={r"/api/*": {"origins": "*"}}) # Load the .env file to be able to use the secretsload_dotenv() @app.route('/api/chat', methods=['POST'])def chat_api(): return "ok" if __name__ == '__main__': if os.getenv("DEBUG"): app.run(host='0.0.0.0', port=8080, use_reloader=True, debug=True) else: serve(app, host="0.0.0.0", port=8080)This does a few things:
- It creates a new Flask app
- It enables CORS for the app (so we can call the API from any domain)
- It loads the
.envfile - It creates a new route,
/api/chat, which will be used to chat with the chatbot - It starts the app if the file is run directly with
debugenabled. Otherwise, it starts the app using thewaitressserver
For now, that's it - we have a base application set up. We can run the app by running the following command:
cd srcpython app.pyThis will start our application:
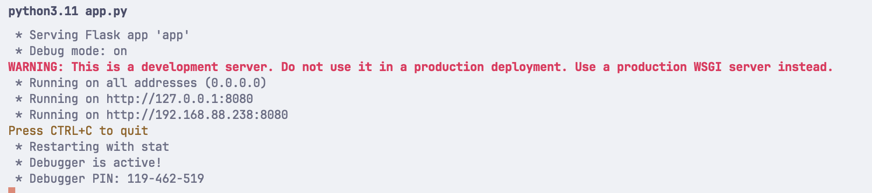
Now we can make a POST request to http://localhost:8080/api/chat, and we should get a response ok.
Note: You can now close the app by pressing Ctrl+C in the terminal.
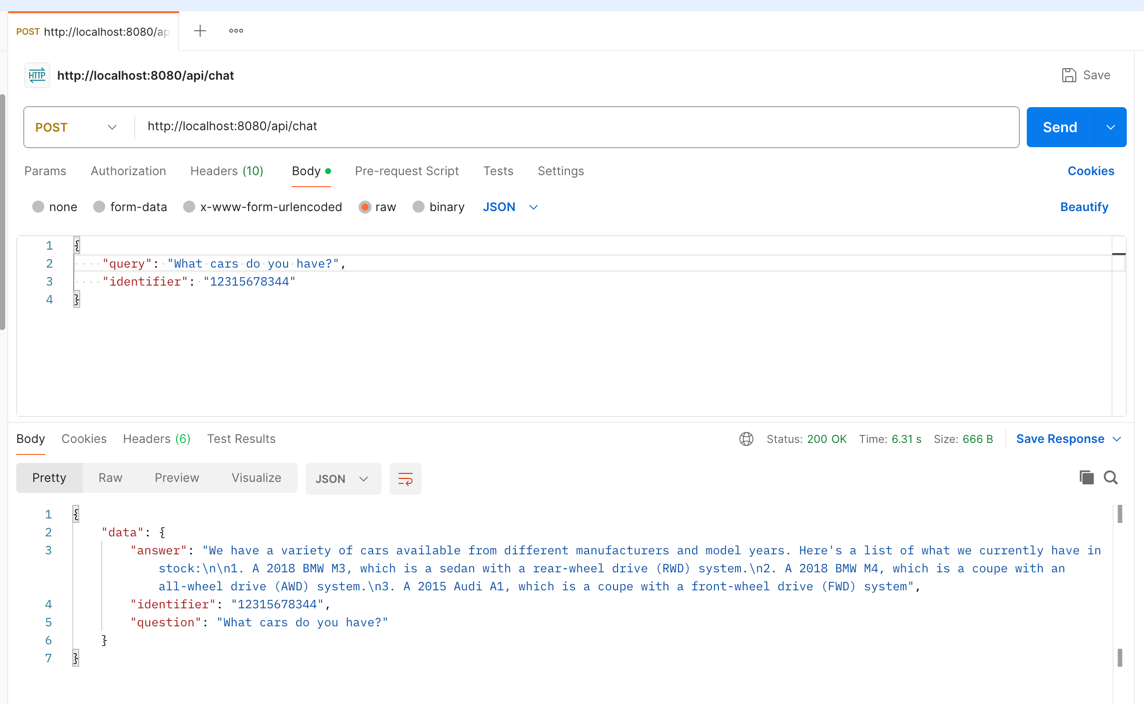
From here, we need to add the actual chatbot functionality to the API endpoint. Let's open app.py and change some code:
src/app.py
# ...from flask import Flaskfrom flask import Flask, request, jsonify import chatbot # ... def chat_api(): return "ok" json_request = request.get_json() # Validate that Query and Identifier are provided in the request if 'query' not in json_request: return jsonify({ "error": { "query": "Please provide a question via Query parameter" } }, 422) if 'identifier' not in json_request: return jsonify({ "error": { "identifier": "Please provide an identifier via Identifier parameter" } }, 422) question = json_request['query'] identifier = json_request['identifier'] return jsonify({ "data": { "question": question, "identifier": identifier, "answer": chatbot.make_ai_request(question, identifier) } }) # ...That's it; we have added the chatbot functionality and our API is ready to be tested.
Testing Api Locally
Now that we have implemented Flask - we can test things! Launch the Flask app (in case you don't remember how to do it, just run python app.py in the src folder), and we will use Postman to test it:
In case someone sends an empty request, we should get an error:
![]()
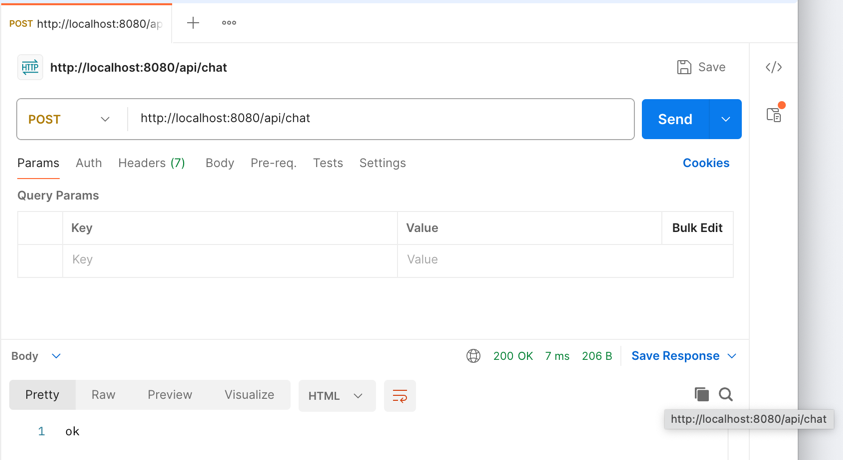
And if we forget to send the identifier or query parameters, we should get an error as well:
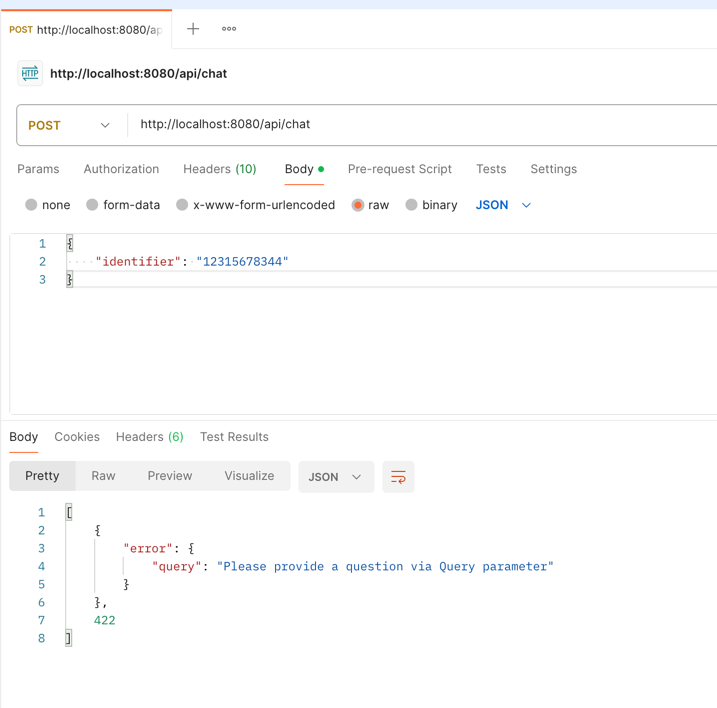
That's it! In the next step, we will deploy it to the production environment.
Deploying the API
Now that we have a fully working Flask App, we should deploy it somewhere so that it can be accessed by our Widget.
For this tutorial, we will use Digital Ocean.
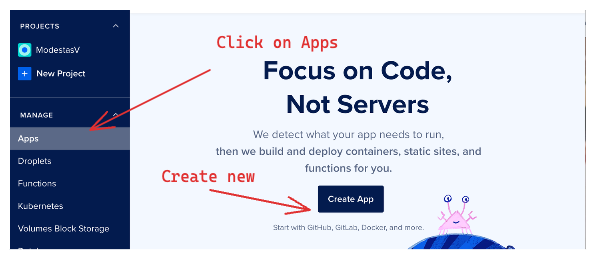
To get started, we need to create a new App in Digital Ocean:
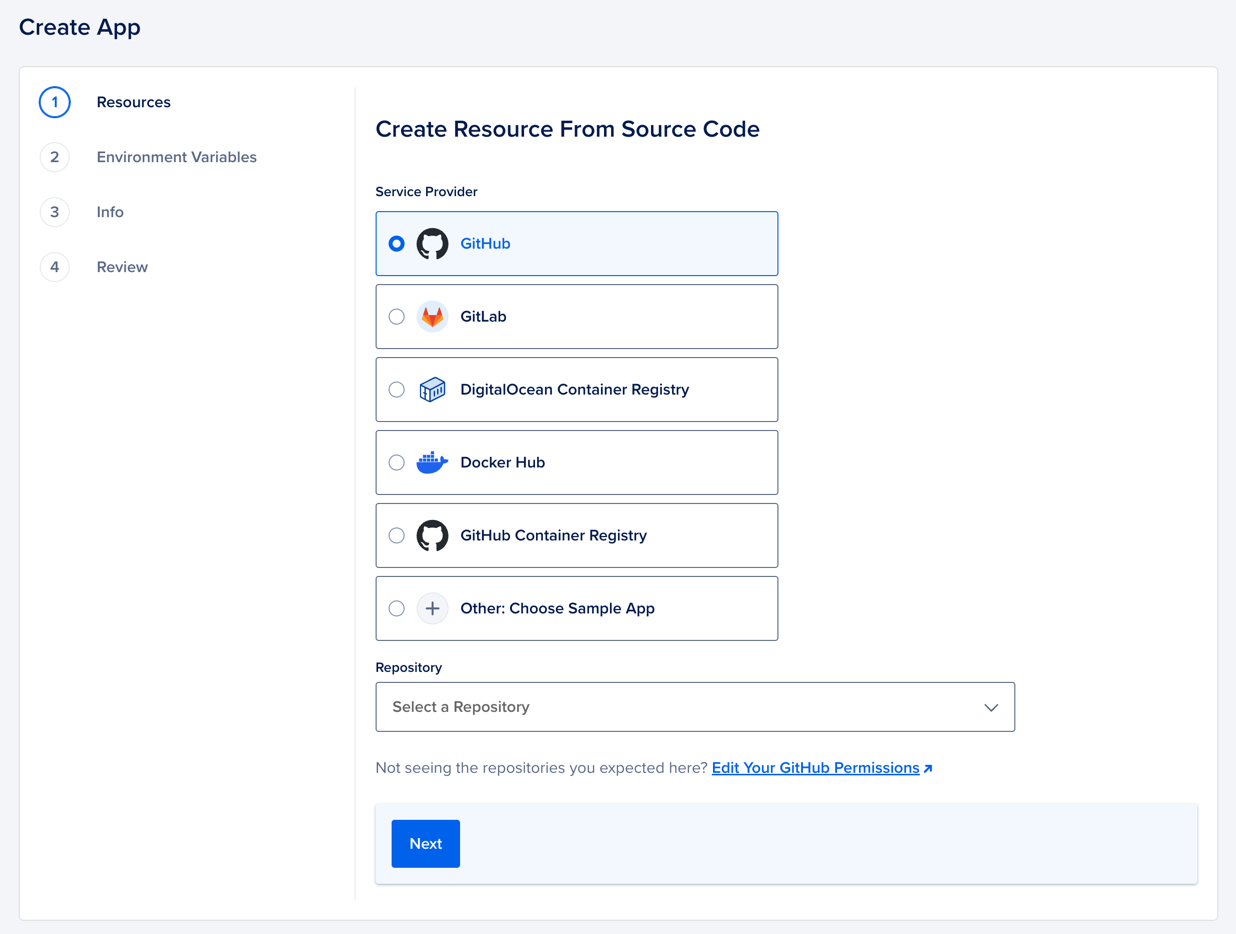
Then we need to select the Source - we will use GitHub:
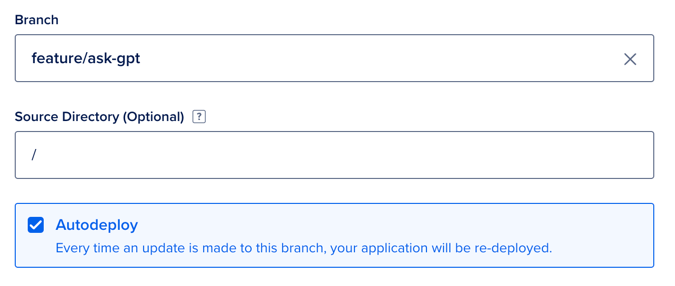
Then, we need to select the repository and branch:
Then we click Next and configure the Server tier:
You can leave it as Default (it will cost $24 per month) or edit the plan and choose a cheaper option. For this tutorial, we will use the default option.
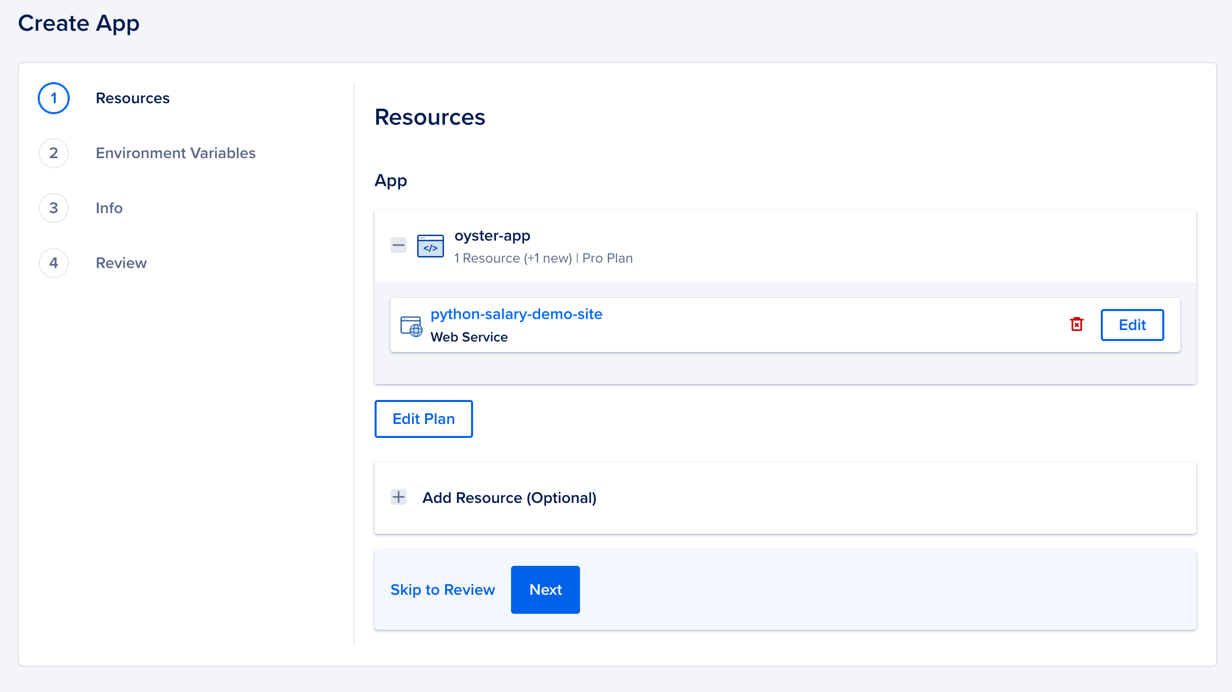
Then we click Next and we should see Environment Variables:
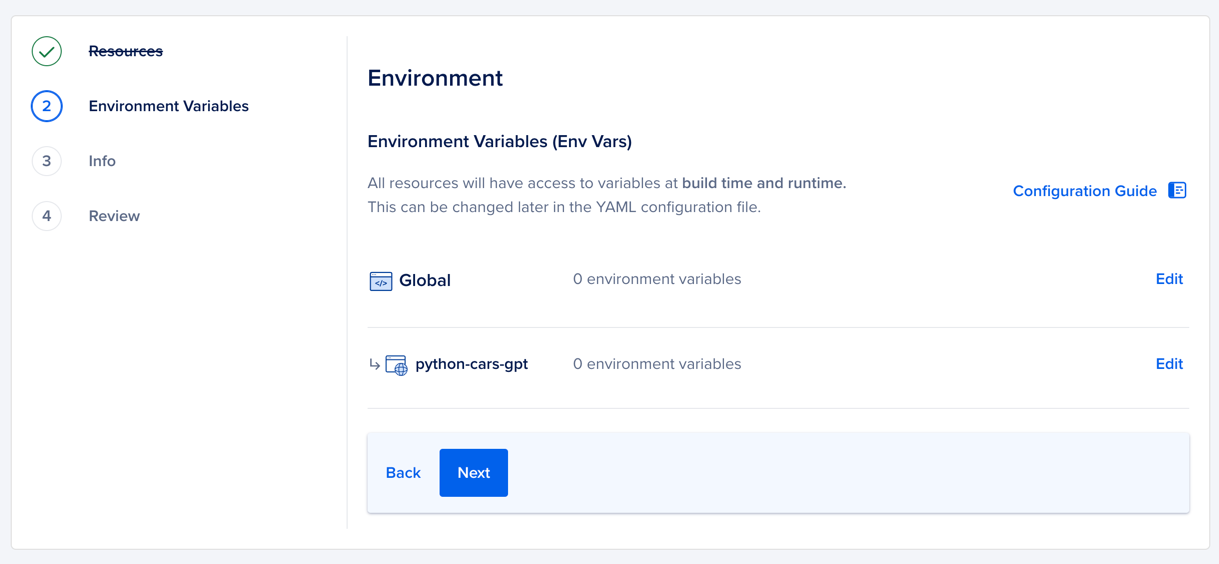
Press Edit next to your application and enter the required env variables:

This should give you an overview of your App:
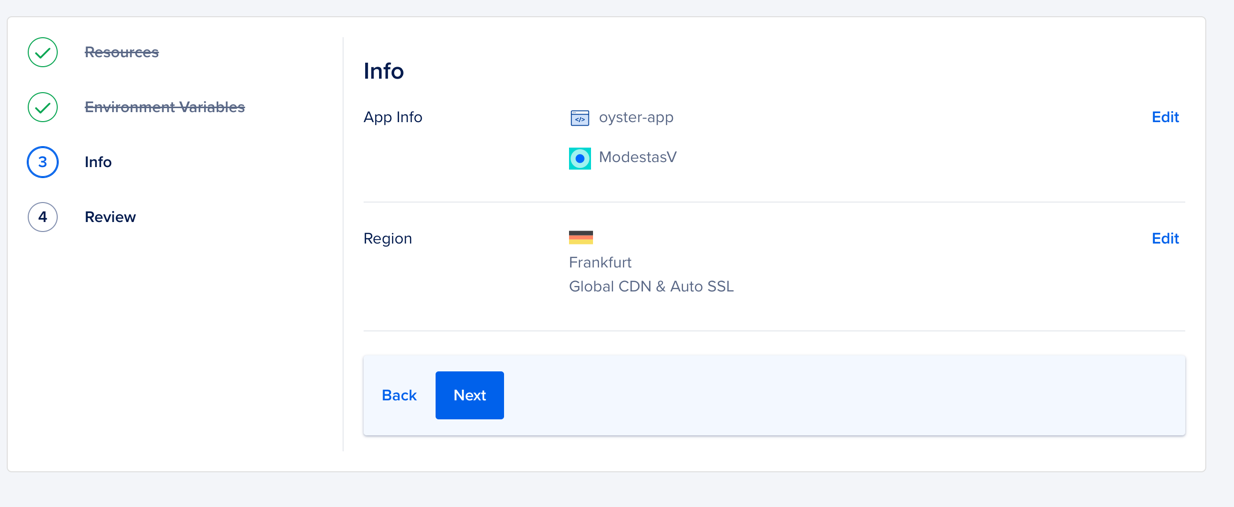
Clicking Next will give you a complete overview of your soon-to-be-created App:
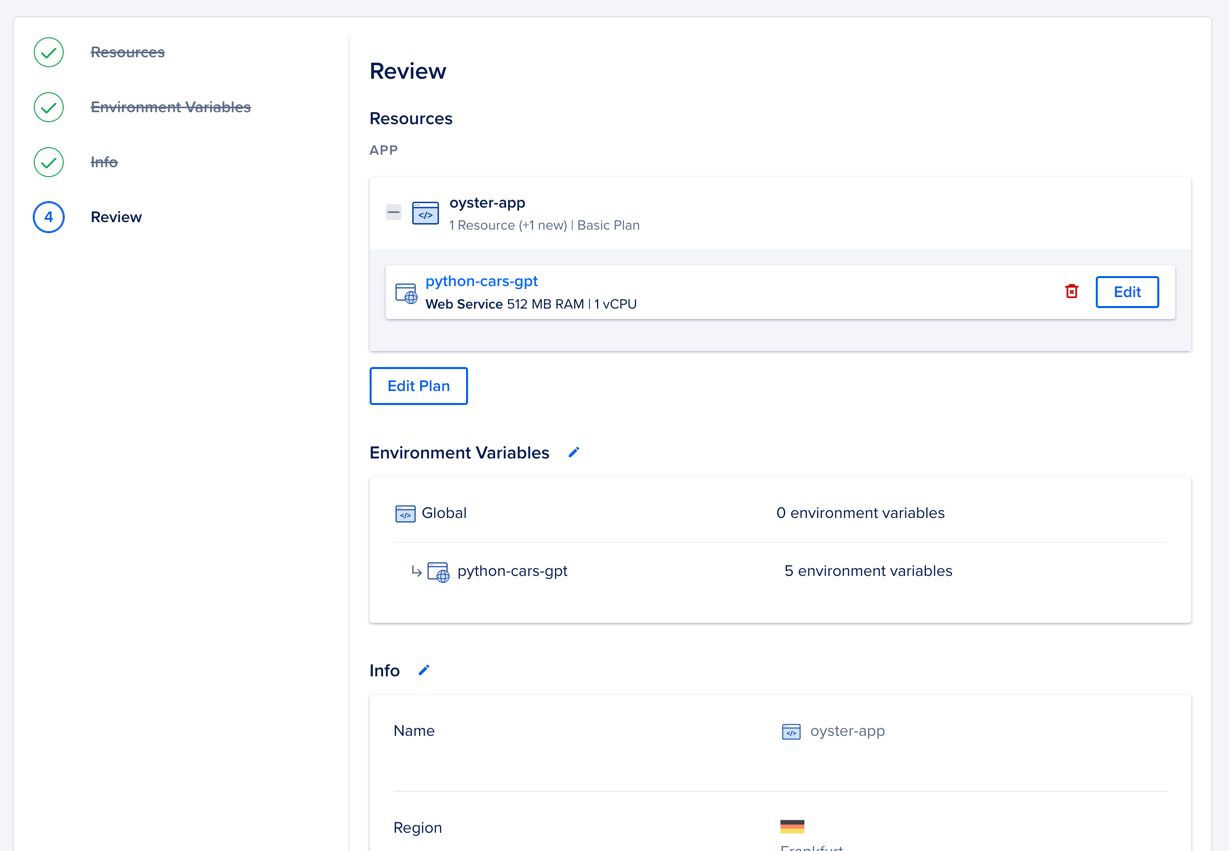
If everything looks good - click Create Resources and wait for the App to be created:
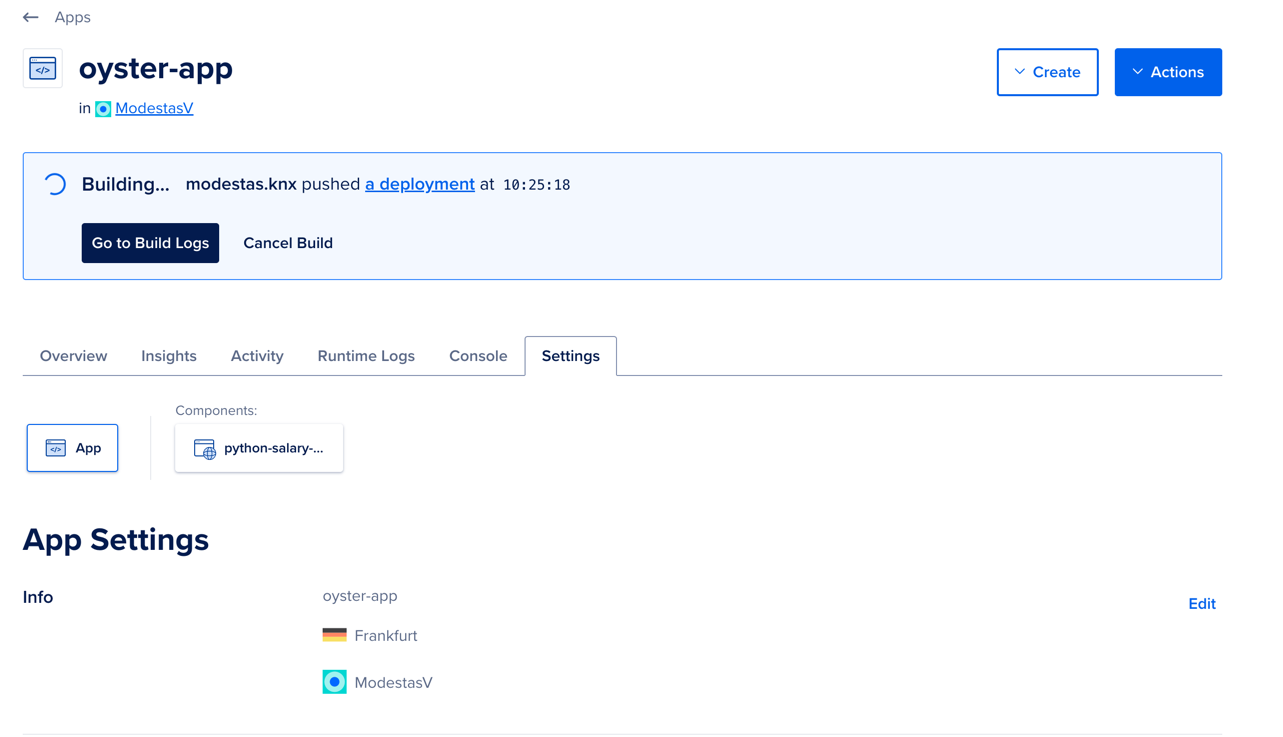
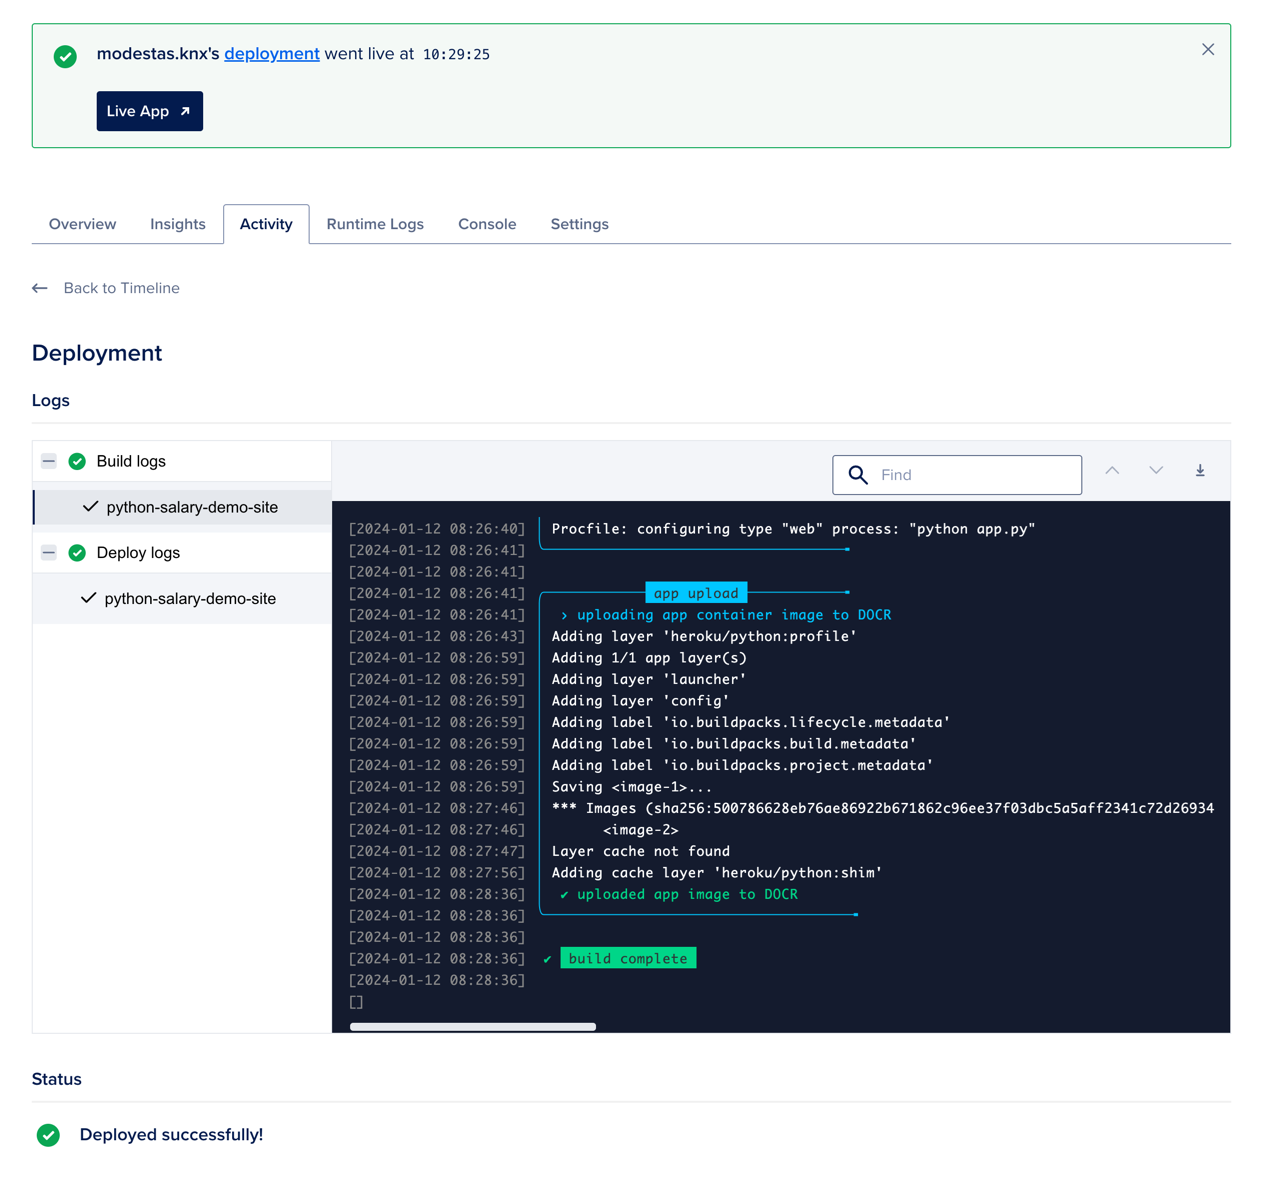
We need to wait until the App is created and deployed. This can take a few minutes, so be patient. Once it is done - you should see the following:
Now, once this is Deployed, we can go into Settings and see the URL of our App:
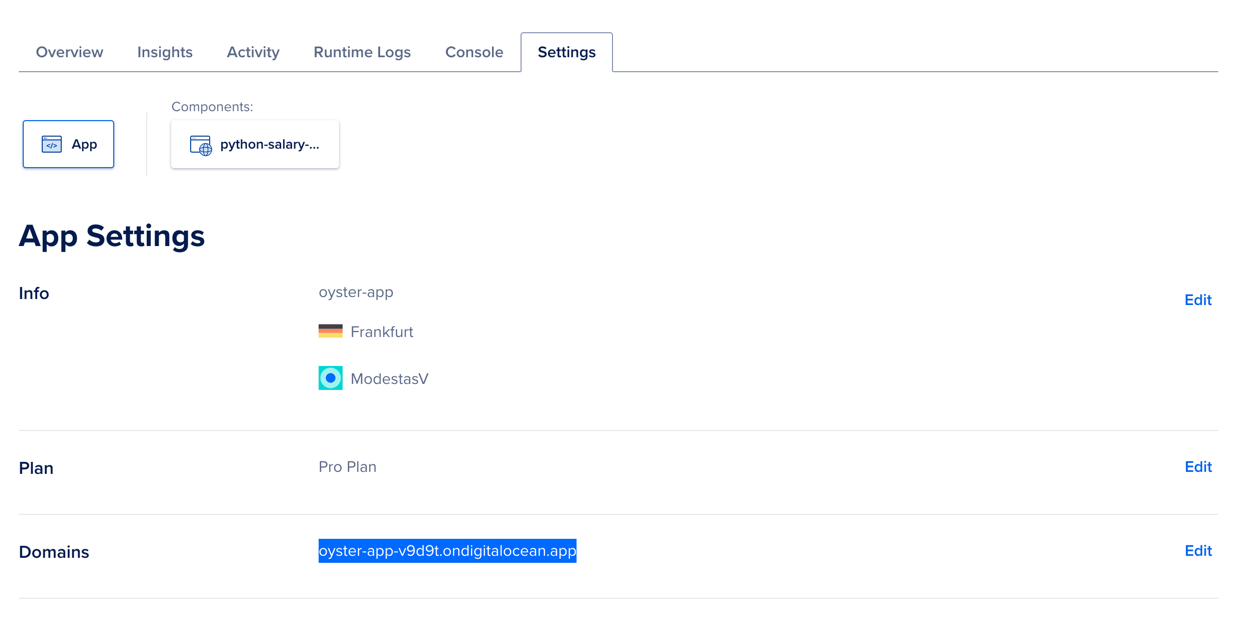
Note: This URL in the image will not actually work. We created it just for the demo purposes of this tutorial.
Last thing, we can run a postman request to see if it's working as expected:
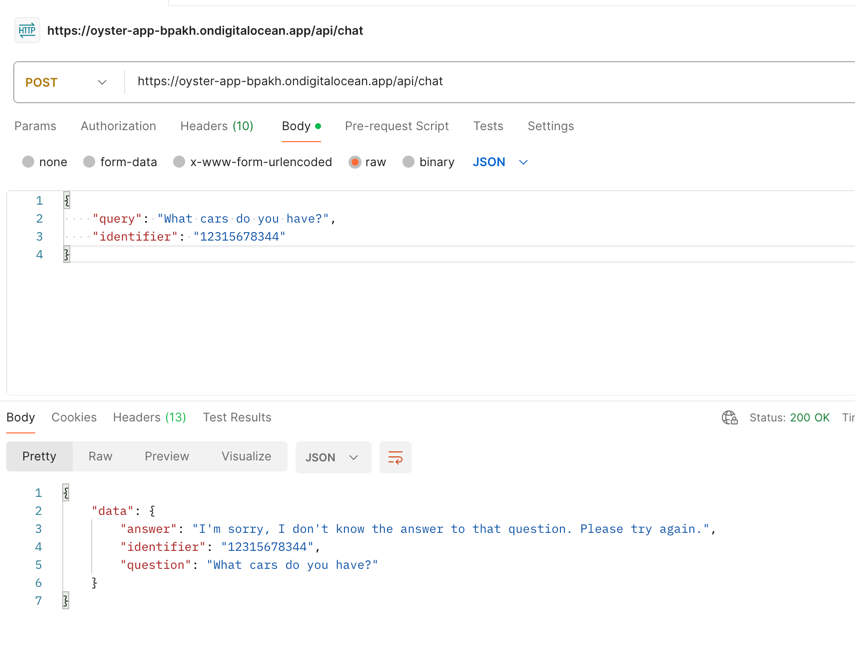
This was the expected result in our case, as our database still needs to be connected. But that was the point - we wanted to test the Python application and confirm that it deployed successfully.
- Intro: Structure and Preparation
- AI Engine and Main Python Script
- Front-end JavaScript Widget
- Bonus
No comments or questions yet...