Lesson 12: Adding Widget to Website
The last step on our journey is to add the widget to our website.

To do this, we need to build our project:
Note:
Before building the project, you should change the URL in main.js to the URL of your API server.
In our case, this was https://oyster-app-bpakh.ondigitalocean.app/ as our API URL
npm run buildThis will create a dist folder with our widget inside the dist/assets folder. You can copy this image and host it somewhere (for example, hosting or a CDN).
Then you can add the following code to your website:
<script type="module" crossorigin src="/assets/widgetCode.js"></script>Where the src has to be the URL to our widget.
Note: This file can be named differently, so check the dist/assets folder for the correct file name.
But let's see how this looks in practice. Our client has a website where we can upload our widget, which solves the problem of publishing the widget. All we had to do was add this script, and the widget was live!
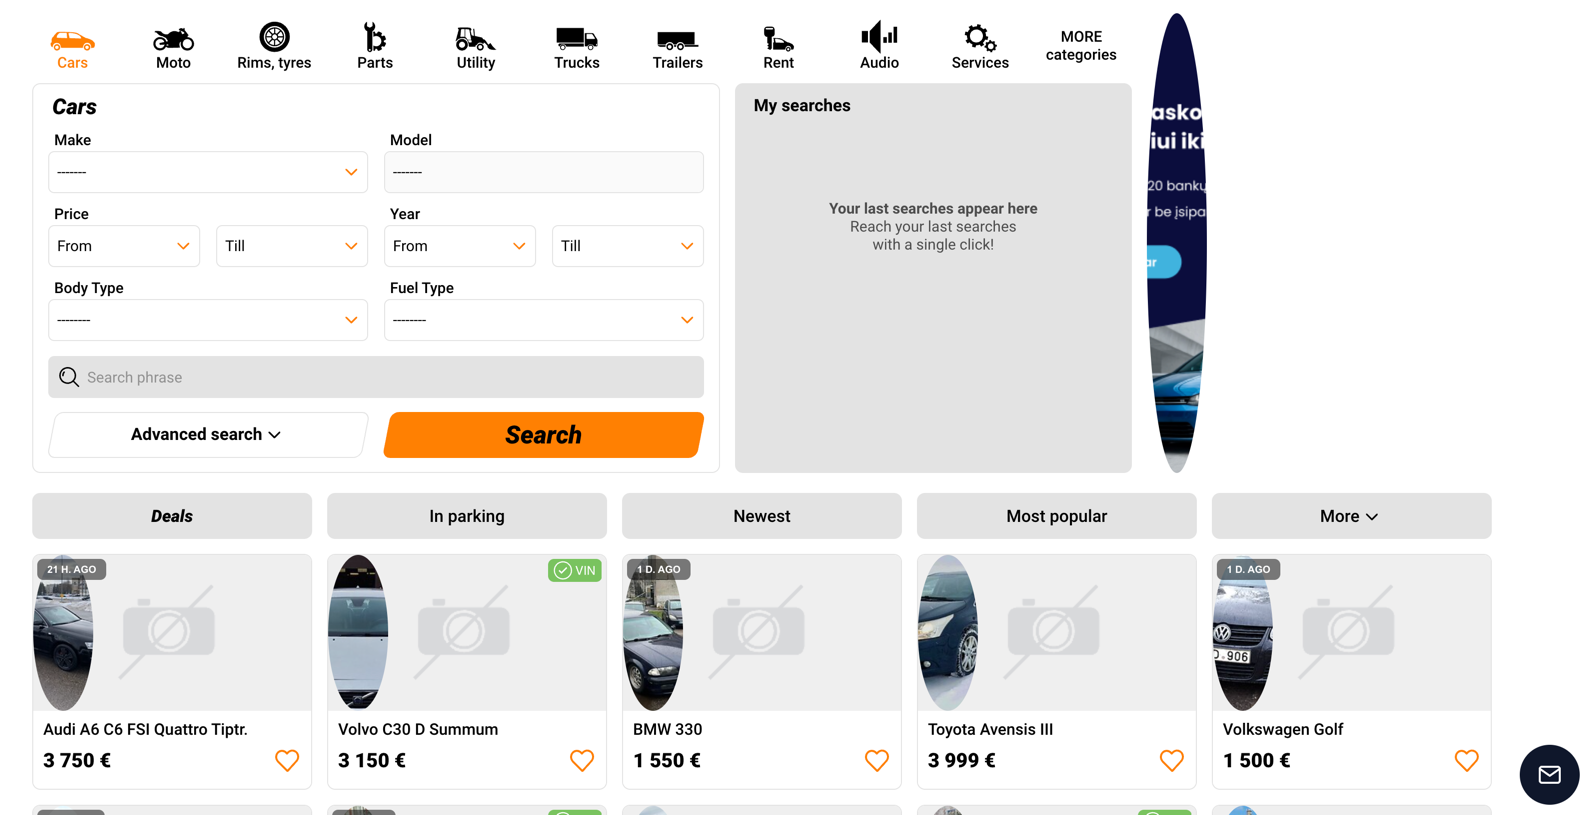
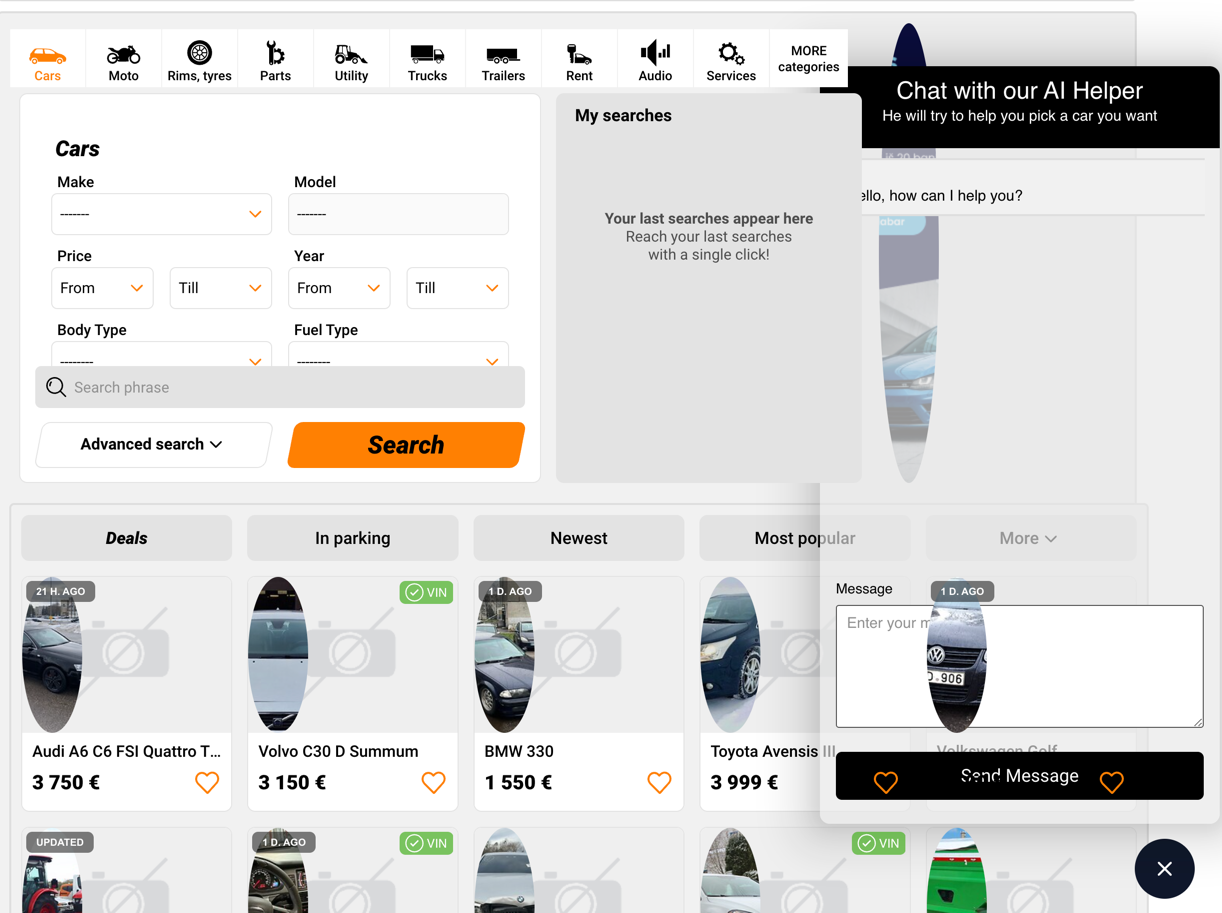
And with it open:
And that's it! We have successfully built and deployed our widget. We can now move on to the next part of our journey.
Final Words
This is a very simplified example of how this can work. But be aware that this example has its challenges. First, we used this design on an empty page most of the time. Still, actual deployment requires you to consider the website's existing design. By this, we mean you must carefully choose class names and what global styling you are using. If it is done incorrectly, you can ruin the existing design of the website like this:
You can find the full code of this course in GitHub repository.
- Intro: Structure and Preparation
- AI Engine and Main Python Script
- Front-end JavaScript Widget
- Bonus
No comments or questions yet...